In this article:
You can set up an integration between Actionstep and QuickBooks Online.
Before You Get Started
Before setting up the integration, you must first ensure Actionstep Accounting has been set up with the following details:
- Chart of accounts: Choose Generic from the list of options.
- Base currency: Choose the default currency for the firm.
- Sales tax: Choose the sales tax settings for the firm, if applicable.
Next, in Accounting preferences (Admin > Accounting), ensure the Accounting method has been set to Accrual. This must be set to Accrual even if your destination accounting system will use the Cash accounting method. This is because the integration with QuickBooks Online is set up and designed to work by posting the invoices at the time they are created rather than at the time they are paid. However, when you move into QuickBooks Online, you can set the accounting method to Cash and then it will work as a normal cash accounting system.
Then, make sure your bank account details have been added (see Linking Bank Accounts in the Accounts List) and
ensure trust accounting is configured as well as the trust bank accounts (see Getting to Know the Trust (or Client) Accounting Admin Page).
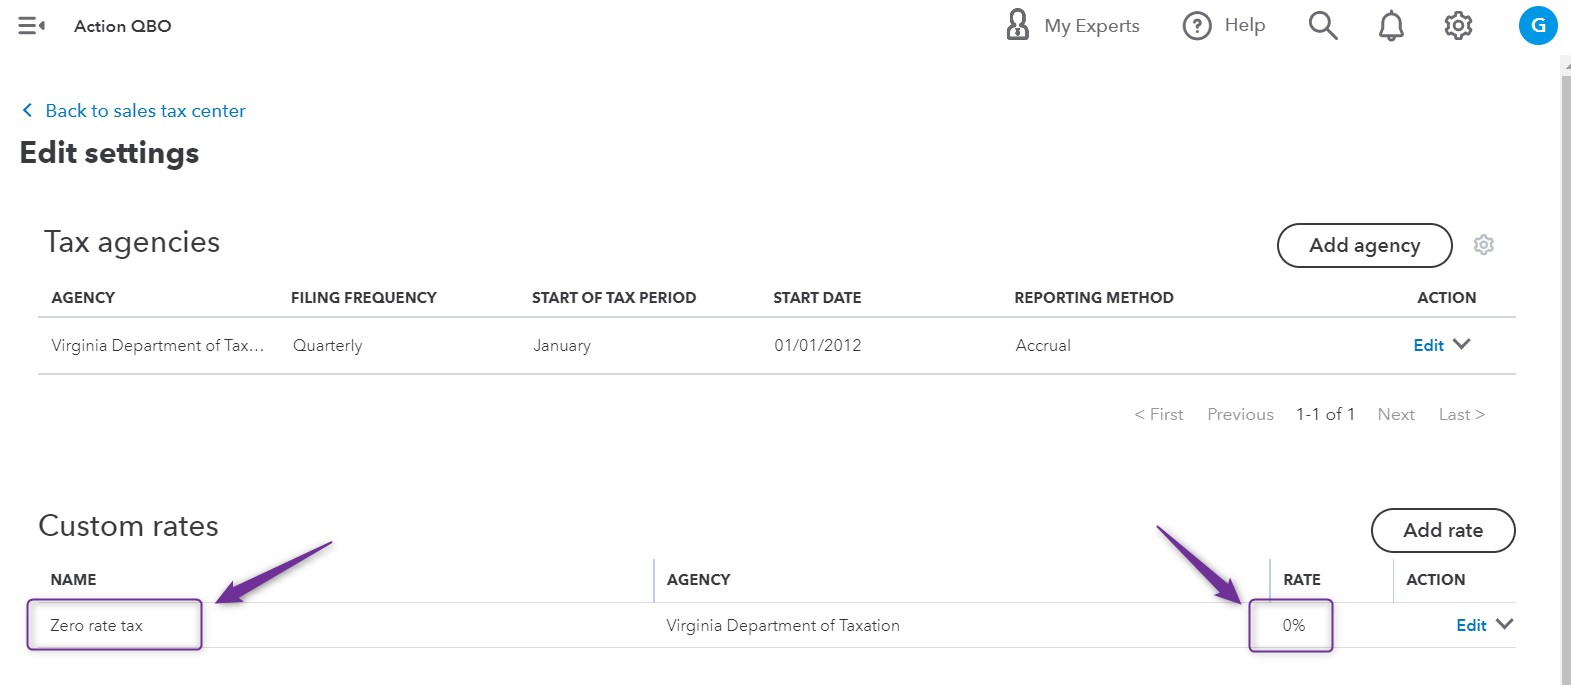
With regards to sales tax, users who do not charge sales tax will need to configure a 0% sales tax rate prior to setting up the integration. Users who do charge sales tax, should ensure that all applicable rates are set up in Actionstep and QuickBooks online prior to configuring the integration. Though rates can be refreshed and mapped after initial setup.
Installing the Integration
You are now ready to integrate Actionstep with QuickBooks Online.
To set up the integration:
- In Actionstep Practice Management, go to Admin > Accounting. The Accounting page appears.
- Click Connect to QuickBooks (located on the right side of the page).

- Click Connect. The integration starts to synchronize and you are taken to the QuickBooks Online integration configuration workflow.
Mapping Actionstep and QuickBooks Online
Although the mapping process takes a bit longer, it is important. As both Actionstep and QuickBooks have their own general ledger, currencies, and sales taxes, it is important to map the two together. By doing this, you ensure that a transaction in Actionstep coded to a certain general ledger account with a certain amount of tax is processed in QuickBooks Online with the correct general ledger account and tax code.
To map Actionstep with QuickBooks:
- In Actionstep, go to Admin > Accounting. The Accounting page appears.
- Click Edit next to QBO: Mapping. The QuickBooks Online Integration Configuration page appears.
- Set the preferences as described below.
Synchronization
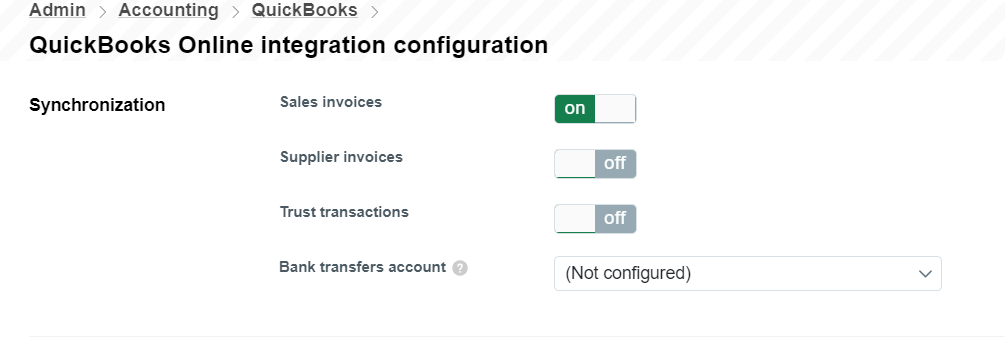
By toggling Sales Invoices to on, you allow the sales invoices (the bills you produce for your clients) to be pushed through to QuickBooks Online.
As well as the invoices, any payments made to those invoices or credit notes for those invoices will be pushed through.
Edits and deletions to invoices and payments are done directly from Actionstep and have these feed automatically into QuickBooks (without the need for unlinking and deleting in both sides).
Credits are pushed to QuickBooks automatically. If there is a balance that needs to be credited or written off, you should use the credit function. The best practice is to add a prefix to the credit note identifier to indicate whether it is a write-off or a credit which will then push through into QuickBooks Online and then users are able to filter for credits versus write-offs.
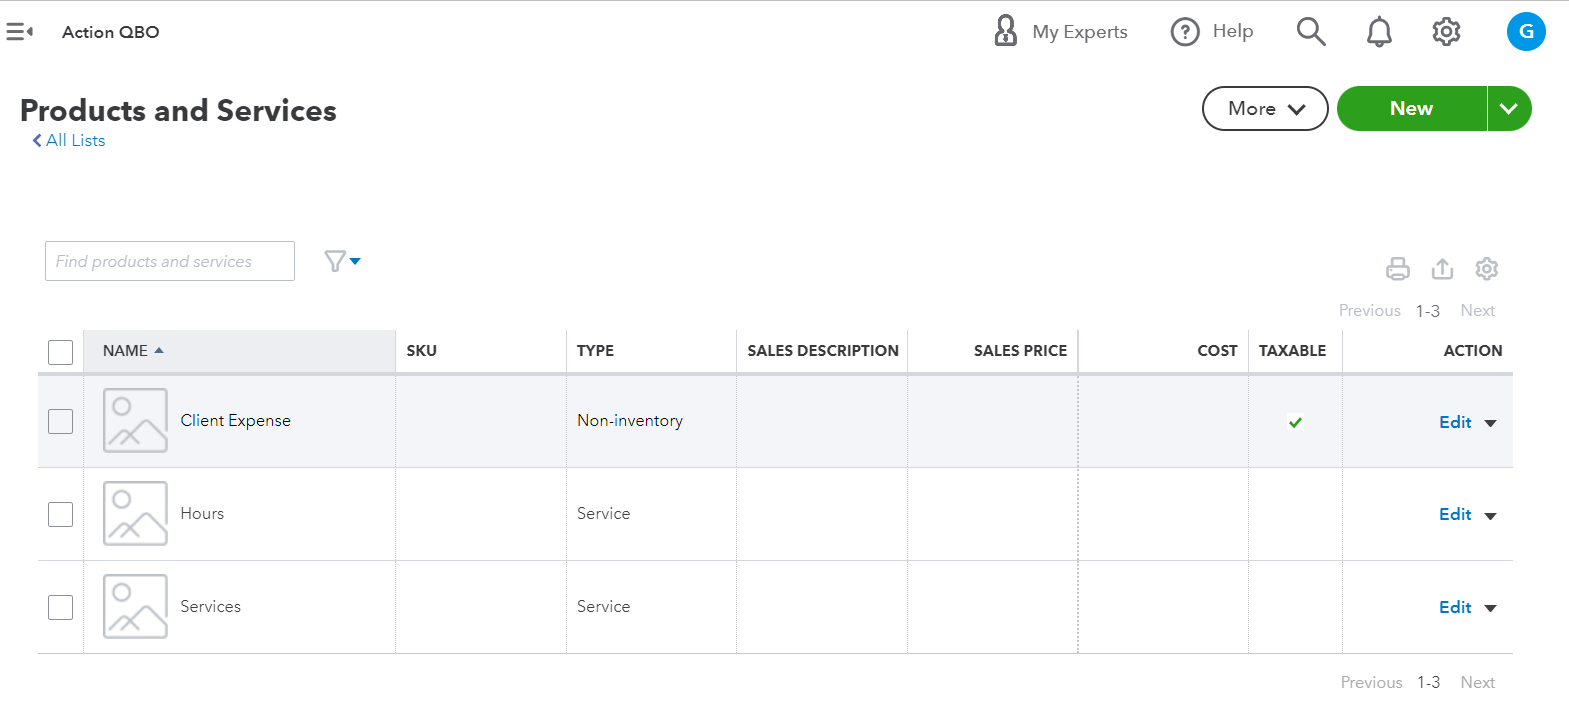
Sales invoice account map
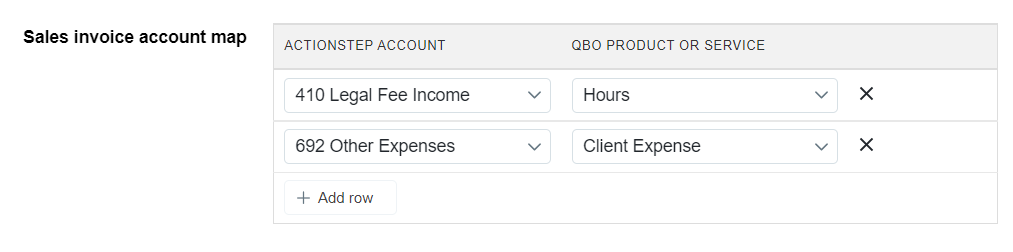
Your Actionstep fee income and expense accounts must be mapped to their equivalent product or service in QuickBooks. You need to map at least one income and expense account for invoicing.
As the Actionstep accounts are mapped to the QuickBooks Online products or services, they appear crossed through in the QuickBooks Product/Service Reference section of the page.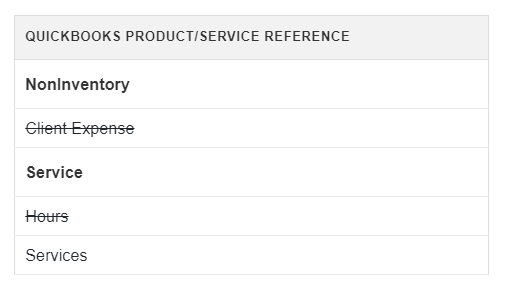
Rather than a user selecting an income account in QuickBooks Online, you need to map to different Products and Services accounts which will then in turn feed into the relevant income accounts.
GL Account Map
In this section, you will map the accounts in your general ledger (GL) in Actionstep to equivalent accounts in QuickBooks.
To do this, use the Add row button to create a new row and within that row, select the account from the Actionstep Account list and then select the equivalent account in the QBO Account list.
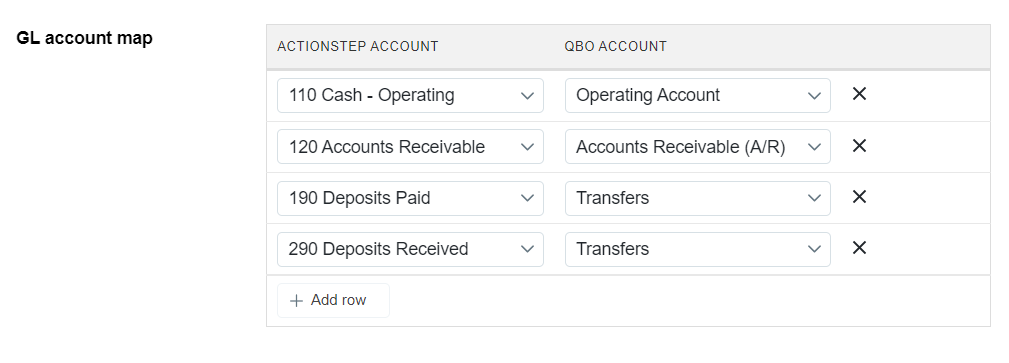
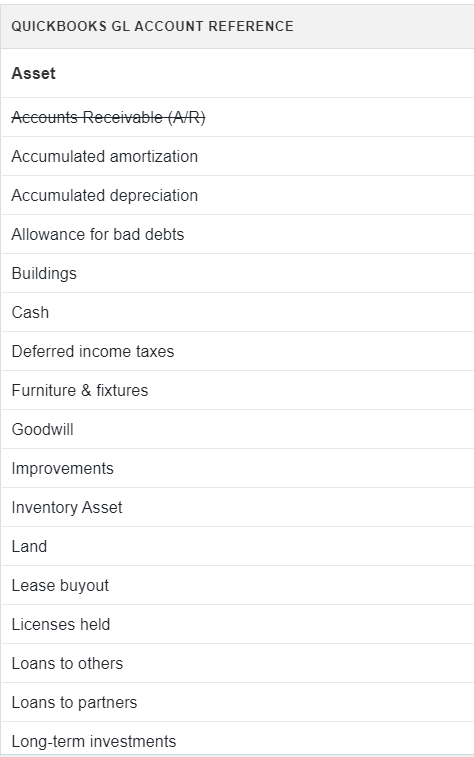
As the Actionstep accounts are mapped to the QuickBooks Online accounts, they appear crossed through in the QuickBooks GL Account Reference section of the page.
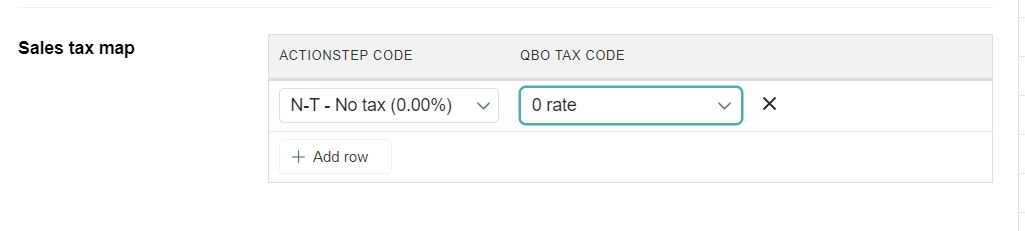
Sales Tax Map
Similar to the section above, you use the Add row button to create a new row, and within that row, select a tax code in the Actionstep Code list and the equivalent rate in the QBO Tax Code list.
Was this article helpful?
That’s Great!
Thank you for your feedback
Sorry! We couldn't be helpful
Thank you for your feedback
Feedback sent
We appreciate your effort and will try to fix the article